Today my friend Kalina and I thought it would be fun to do something crafty.When we first went to Wal-Mart, we had no idea what we were going to do. We stumbled into the craft section and came across all the fun ribbon! We then decided to make headbands out of the ribbon with a bit of elastic!
We thought it would be fun to make patriotic headbands!
Step 1: Burn the edges of the ribbon and elastic to prevent fraying.
Step 2: Fit together a strip of elastic and ribbon to create a comfortable, yet snug fit around your head. On the fatter ribbon we used two pieces of elastic
Step 3: Sew on the elastic
The Finished Product:
This was a cheap and easy way to make adorable headbands! If you buy the ribbon by the yard, you can get plenty of ribbon for 2 headbands for less than fifty cents!
Recognize this? I made a headband with the extra trim from my skirt!
Sunday, July 1, 2012
Project 6: Eyelet Trim Skirt
I am altering this piece for my mom. We found this dress at Saver's. It is meant for girls, but we loved the eyelet fabric on the bottom so much that we had to buy it!
Right off the bat, my mom knew she wanted me to make it into a cute summer skirt, so I got to work.
Step 1: Cut off the top
Step 2: Cut off excess fabric so skirt is at desired length
Step 3: Create a casing, make sure to leave about an inch of it open so the elastic can go through!
Step 4: Insert elastic
Step 5: Sew the opening closed
The Finished Product:
Little Girls' dress to women's skirt!
Saturday, June 30, 2012
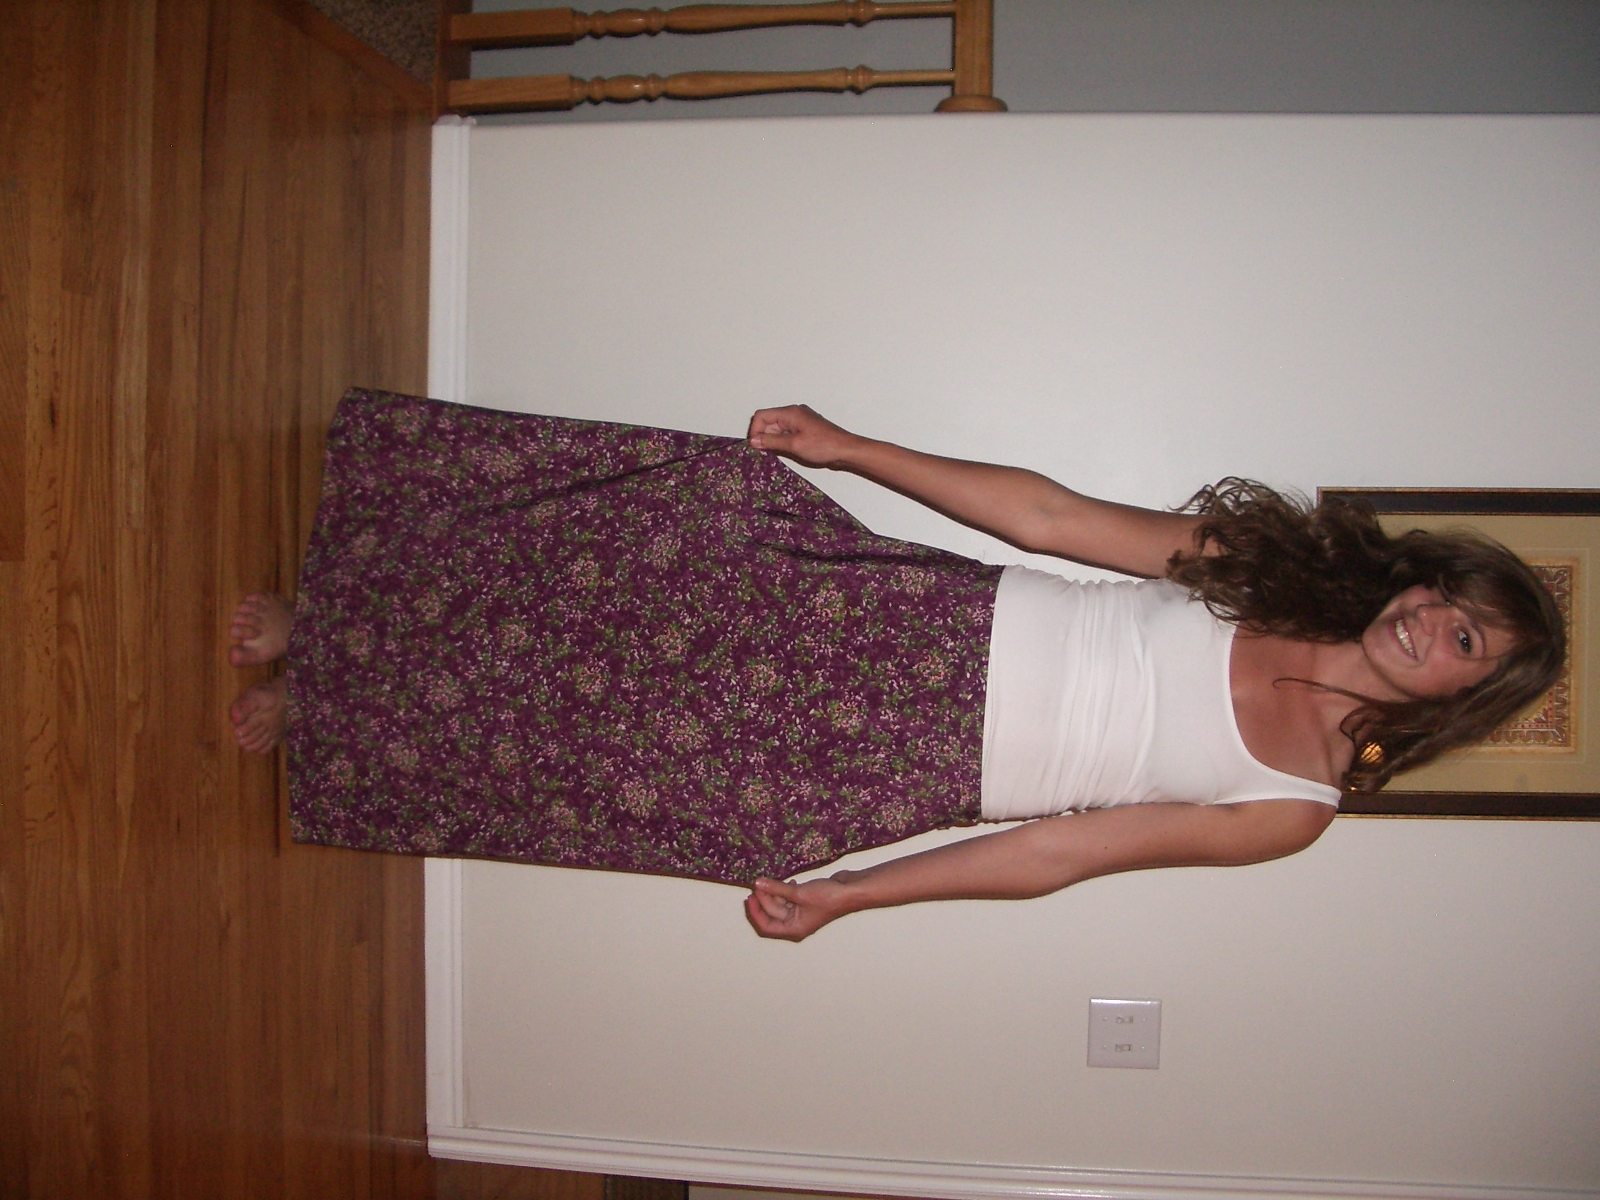
Project 5: Flower Skirt
This isn't a terrible piece to start with. The waistband fits and the print is cute. However, the skirt is just a little bland. There isn't anything that really pops on this skirt and makes it memorable.
So I decided to buy some lace at Wal-Mart to add trim to the top of the pockets that I was adding to give this skirt the pinch of pazazz it was missing!
Step 1: Cut off 19 inches from the bottom
Step 2: Hem the bottom
Step 3: Cut two 6 x 6 inch squares from the cut off section using a ruler and a tracing pencil
Step 4: Press the squares over 1/2" on the the sides and bottom and 1" over on the top
Step 5: Fit the lace trim to the top of the pockets and sew on
Step 6: Sew on the pockets
The finished product:
Now this is a memorable skirt! I LOVE the lace trim, and with the extra trim I have, I was going to make a copycat headband that i saw at PacSun and a similar one at Aerie as well!
Friday, June 29, 2012
Project 4: High-waisted Skirt
This skirt is for my sister. She bought it at Saver's for $1.50! The print on this skirt really cute and unique, but the length is really awkward.
Step 1: Cut off 9 inches from the bottom of the skirt
Step 2: Hem the skirt
The Finished Project:
This was a quick fix! She paired it with a bright shirt and a skinny, brown belt.
Thursday, June 28, 2012
Project 3: Fitted Dress
I bought this skirt at Saver's for $2!
The pattern on the fabric is really pretty and the buttons down the front give it a fun twist! There isn't anything too terrible about this skirt... but it wasn't quite working as a skirt for me, neither was the belt it came with made of matching fabric.
Step 1: Create 6 darts. 2 in the front, 2 in the back, and 1 on each side, each made to fit my body to create a fitted bodice.
The darts are great because unlike taking it in, it allows me to keep the full skirt on the bottom without a baggy bodice.
Step 2: Cut off 4 1/2" from the bottom and hem it.
Step 3: Remove the belt loops
Step 4: Use the extra fabric from the bottom to create straps and fashion them onto the top of the dress
The finished Product: The once $2 skirt now looks like a $30 dress!
I bought this skirt at Saver's for $2!
The pattern on the fabric is really pretty and the buttons down the front give it a fun twist! There isn't anything too terrible about this skirt... but it wasn't quite working as a skirt for me, neither was the belt it came with made of matching fabric.
Step 1: Create 6 darts. 2 in the front, 2 in the back, and 1 on each side, each made to fit my body to create a fitted bodice.
Step 2: Cut off 4 1/2" from the bottom and hem it.
Step 3: Remove the belt loops
Step 4: Use the extra fabric from the bottom to create straps and fashion them onto the top of the dress
The finished Product: The once $2 skirt now looks like a $30 dress!
Project 2: Tribal Skirt
When I first purchased this awful piece of clothing I had no idea what I was going to do to save it, but I was drawn to the fun pattern on the fabric and summery colors that I had to buy it!
There is way too much bright and crazy fabric! The maker of this dress should have either gone with less bright colors or a less complicated pattern. And the piece of fabric that crosses over should have a curve. The straight line doesn't help the overall image and makes the dress appear tackier than it already is.
Step 1: Cut off the top
Step 2: Hem the top
Step 3: Take it in 1 inch on each side
Step 4: Cut off part of the bottom and curve the side tie section
Step 5: finish the edge of the curve and hem the bottom
The finished product:
I love how fun and relaxed this skirt looks, it screams summer!
Subscribe to:
Posts (Atom)